Archive | Dessert RSS feed for this section

Carrot Cupcakes with Ginger Mascarpone Frosting

6 Apr

Ok, real talk. Winter is over.

After what felt like an eternity of snow days and a lingering cold that managed to sneak its way into the first real days of spring, we’ve turned a corner!

Oh, and we moved. To a new apartment. WITH AN ABUNDANCE OF NATURAL LIGHT. And the people rejoiced.

DSC_0952

Between the new digs, the new job, and a remorseless winter, it’s been a tough few months for blogging. But I’m here, and back with a new recipe!

DSC_0954

It even has a vegetable. It’s basically a health food.

DSC_0961

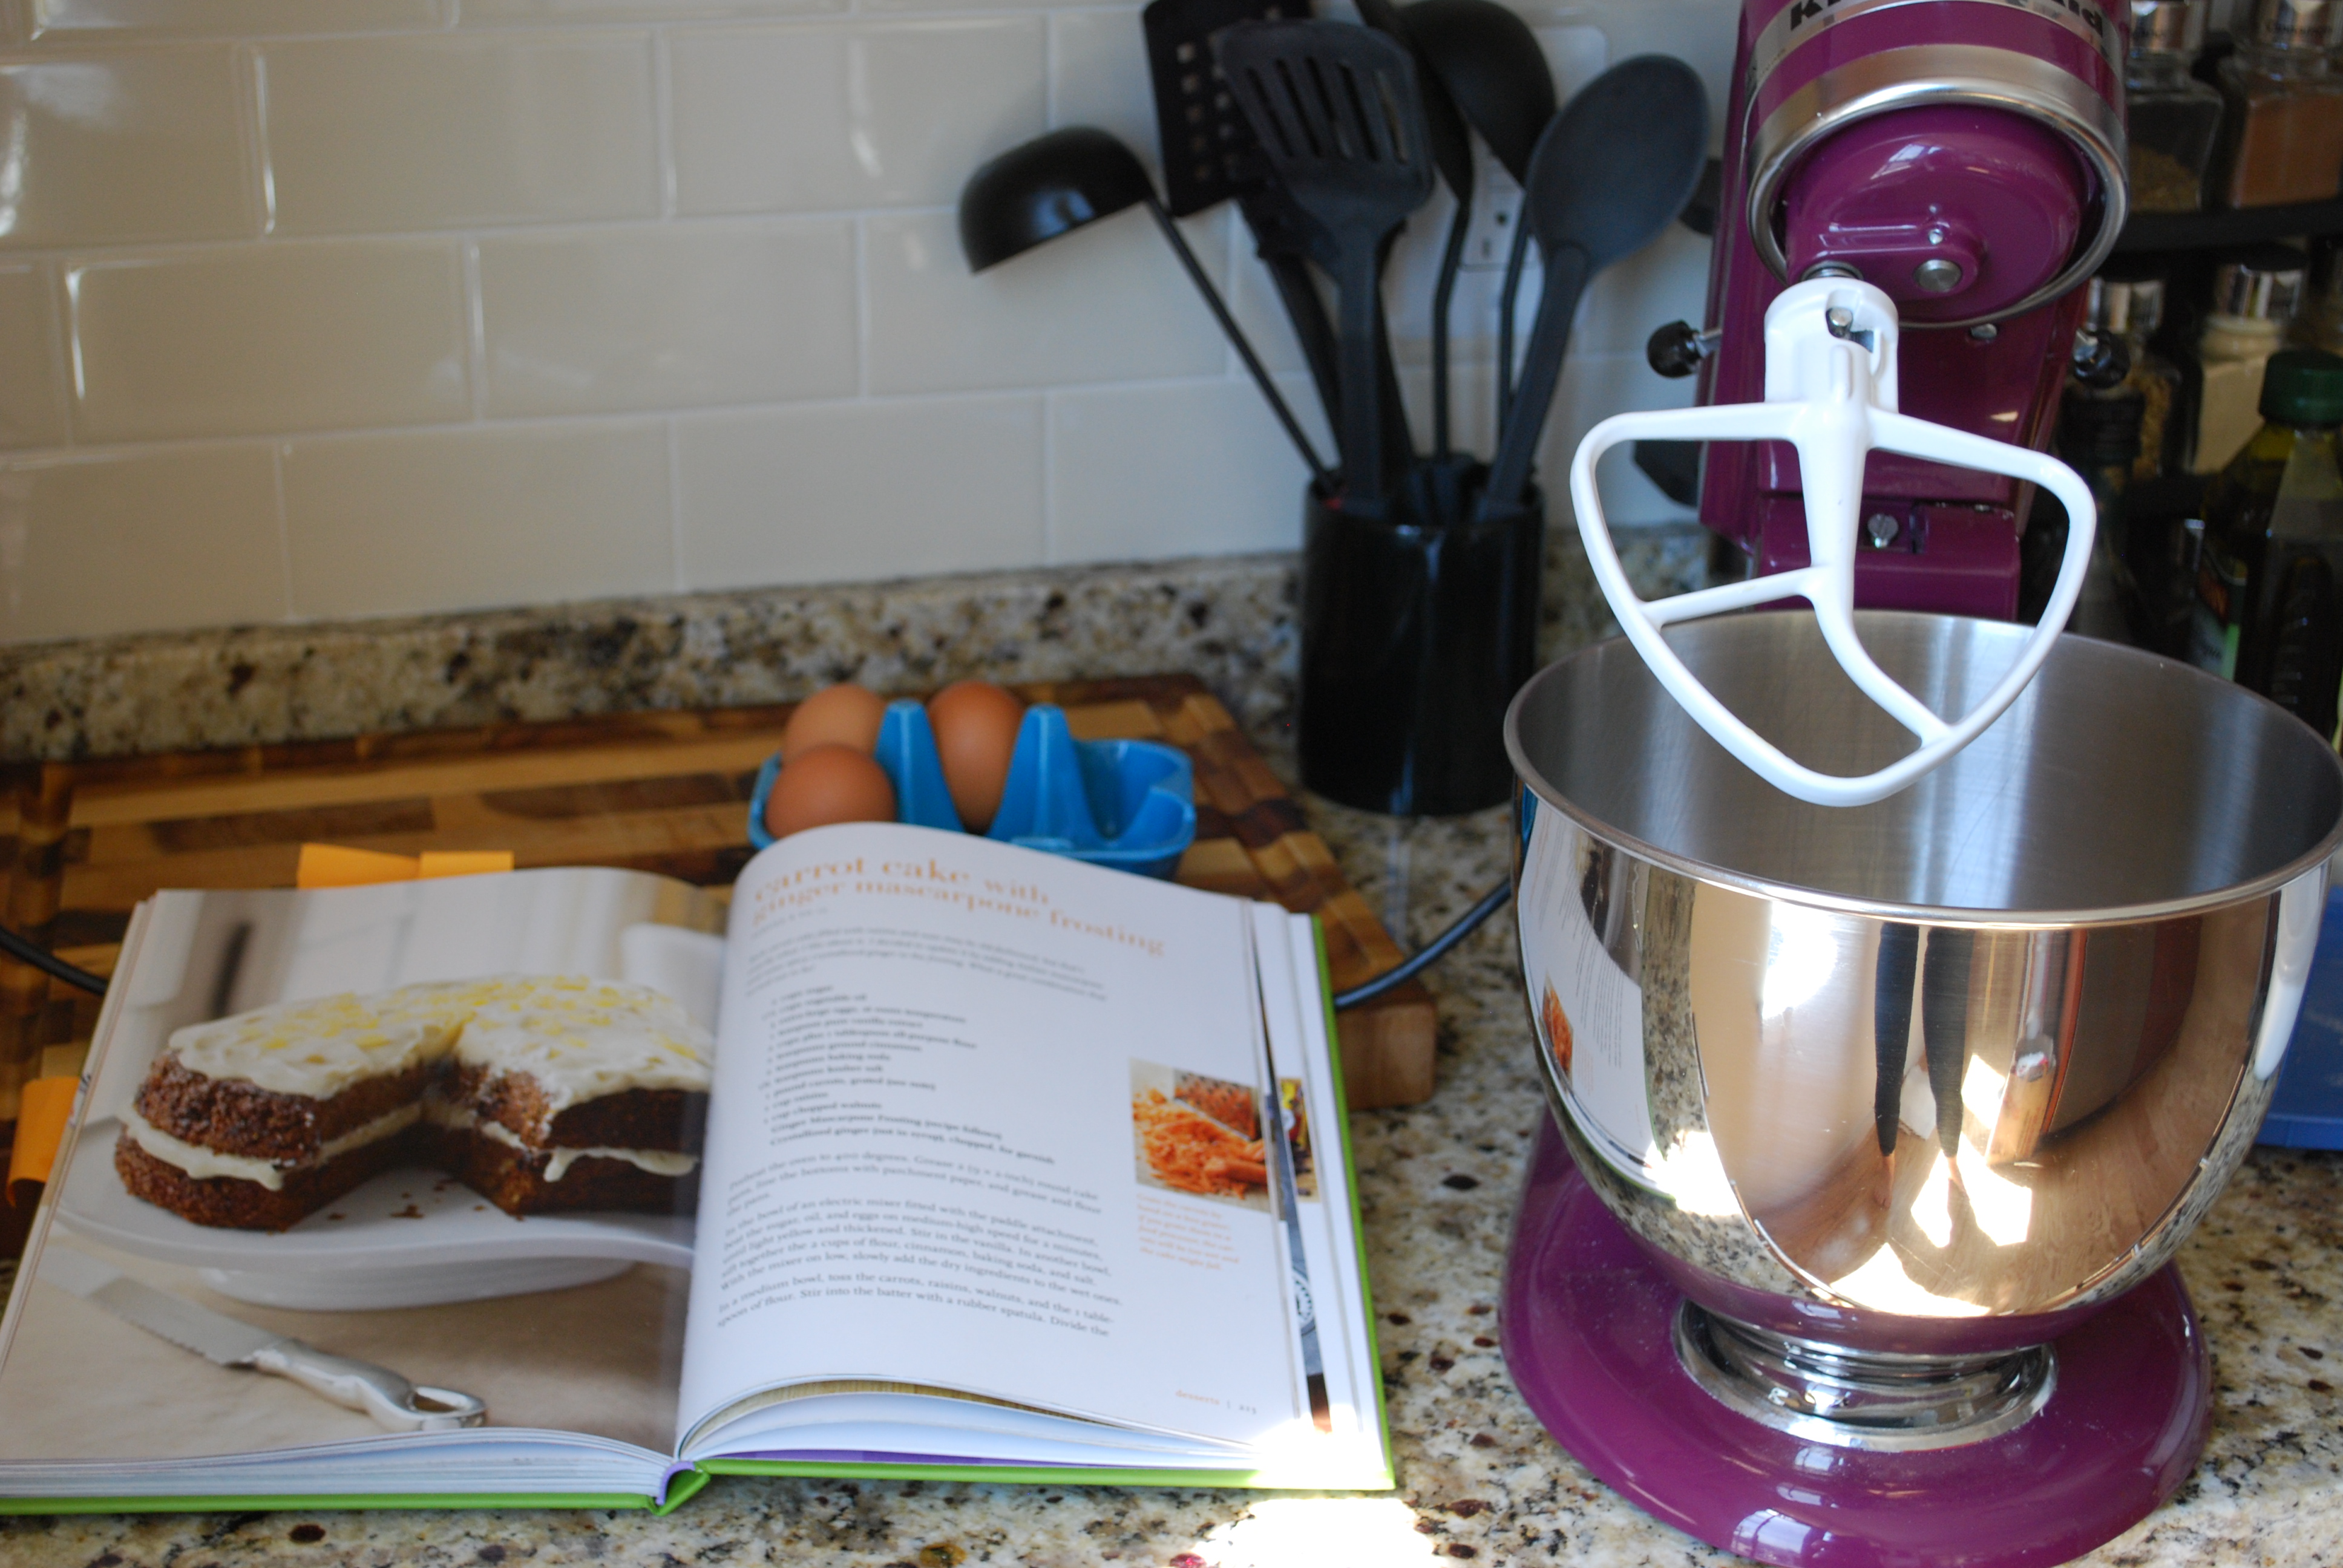
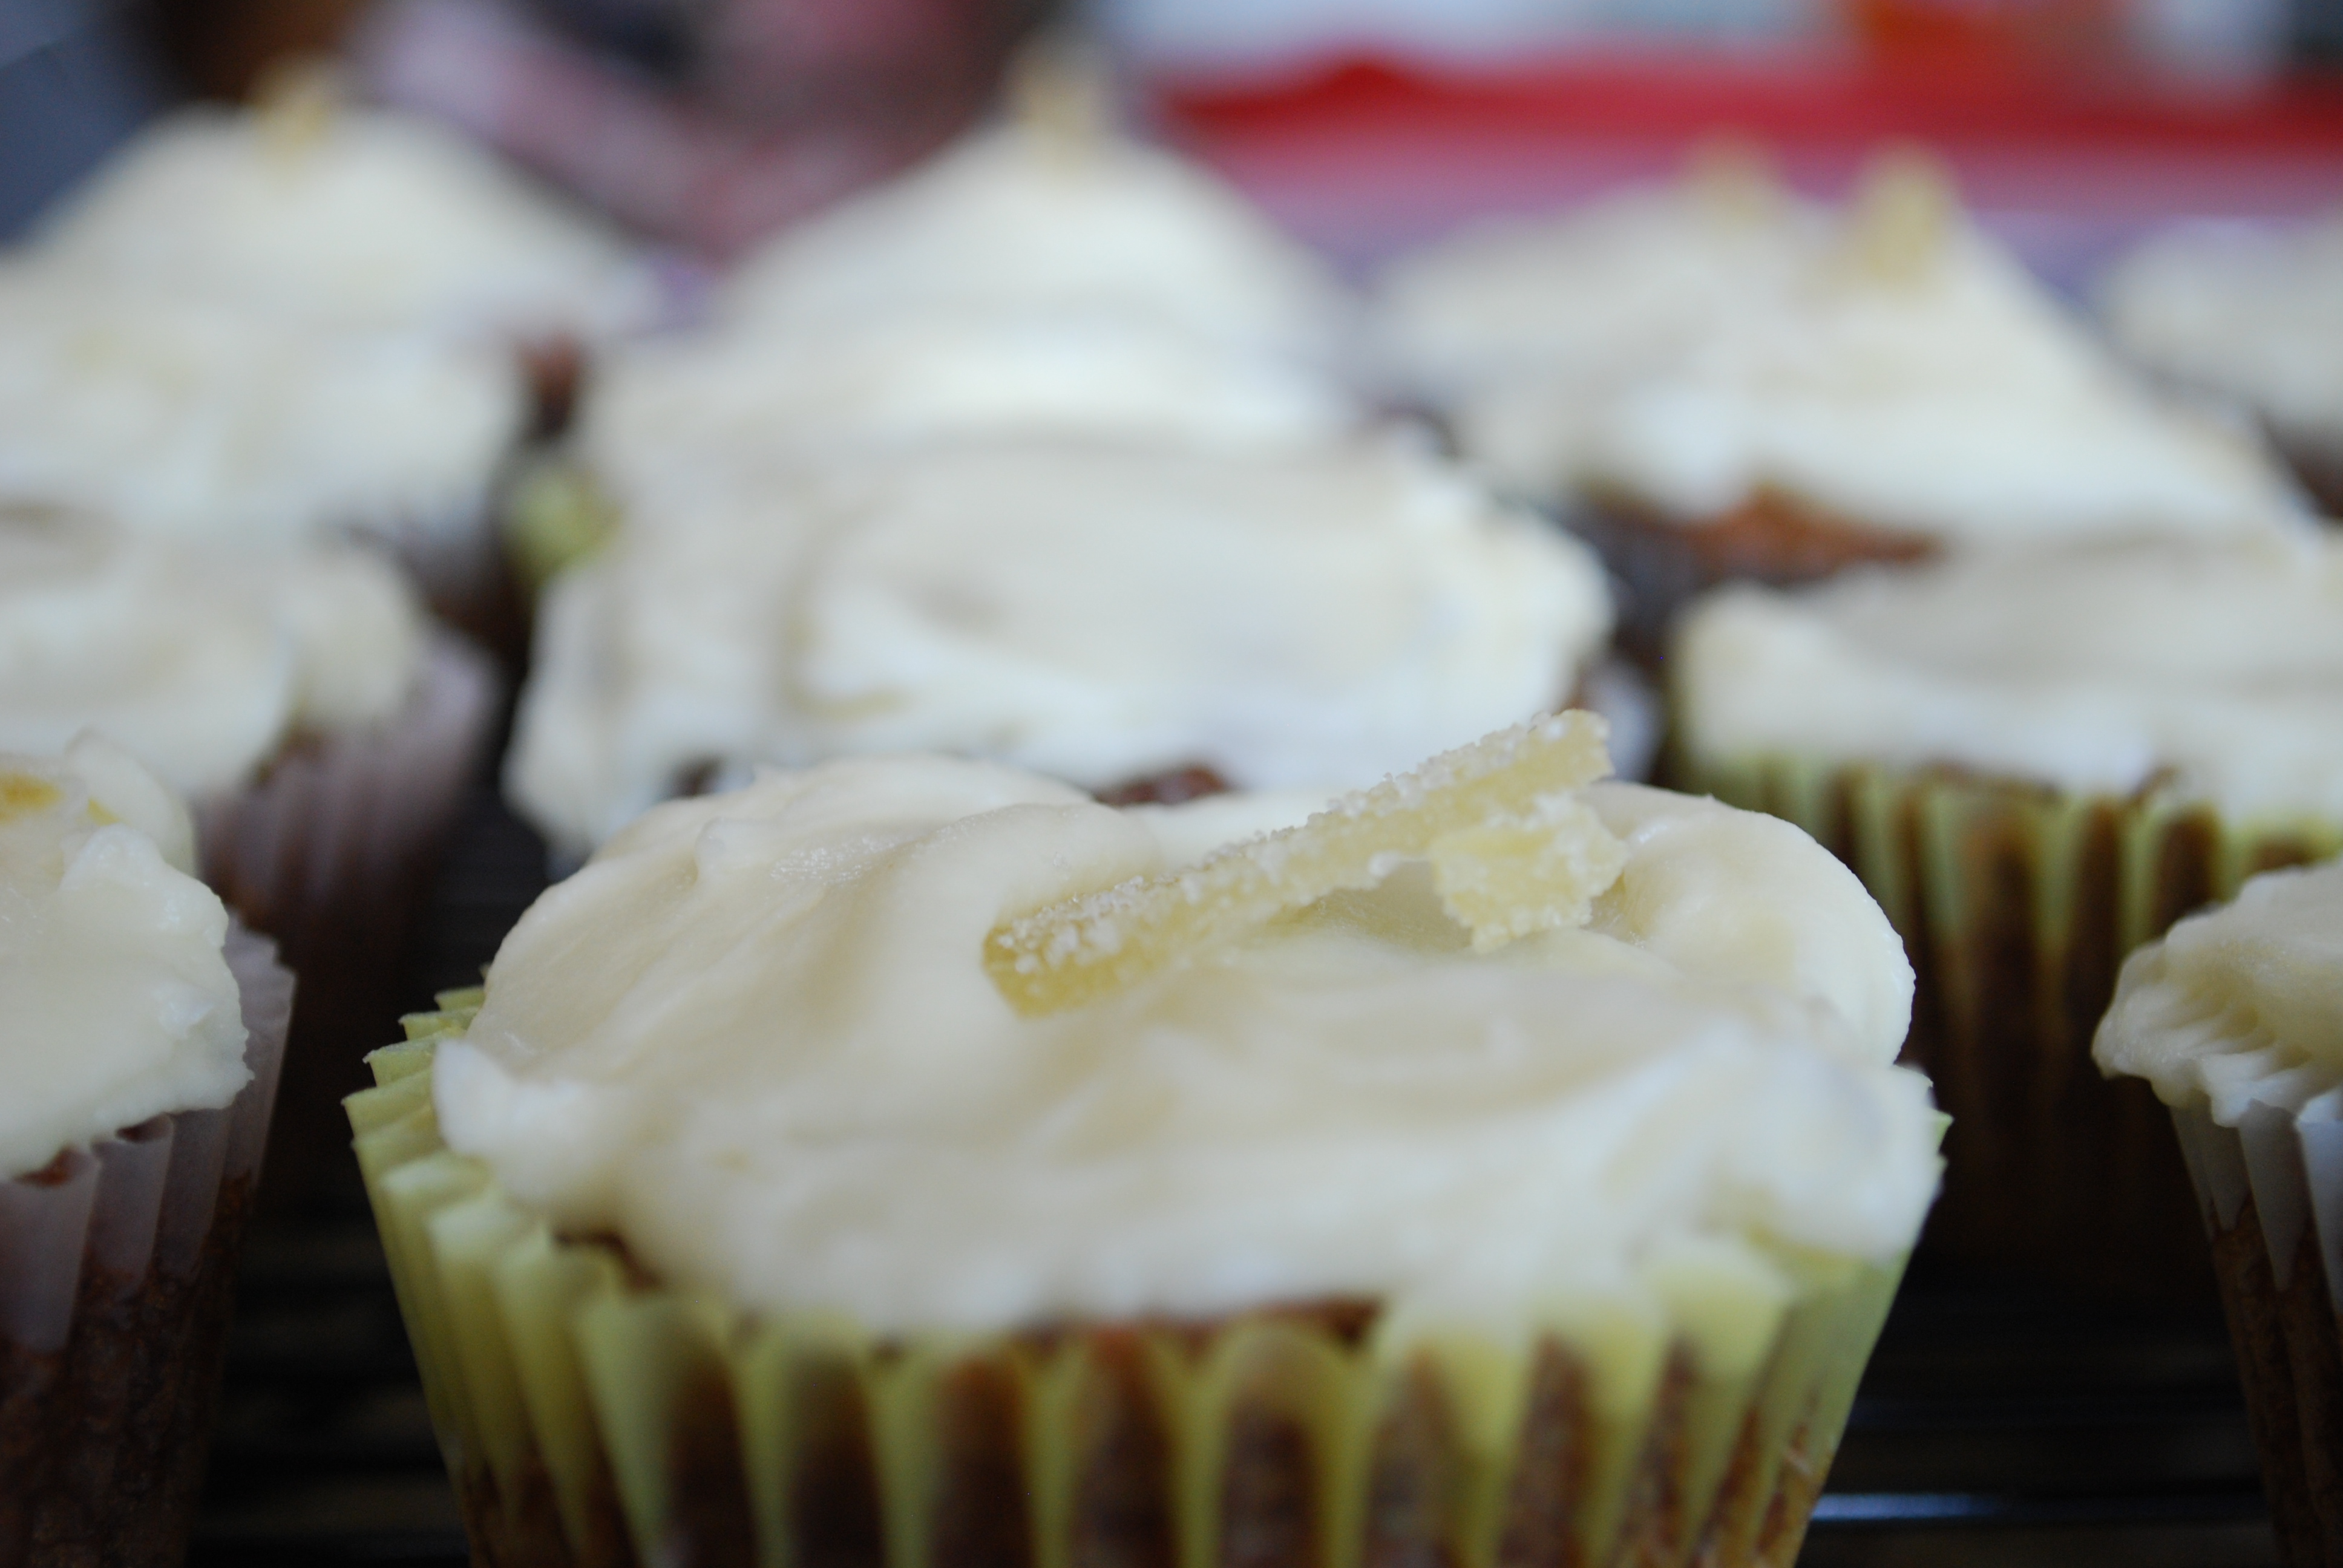
Enter Ina’s carrot cake. It has all the traditional ingredients, but with a delicious twist to the frosting. Cream cheese is mixed with mascarpone cheese for a rich frosting with bits of candied ginger for a bit of bite. In short, it’s tasty.

DSC_0965

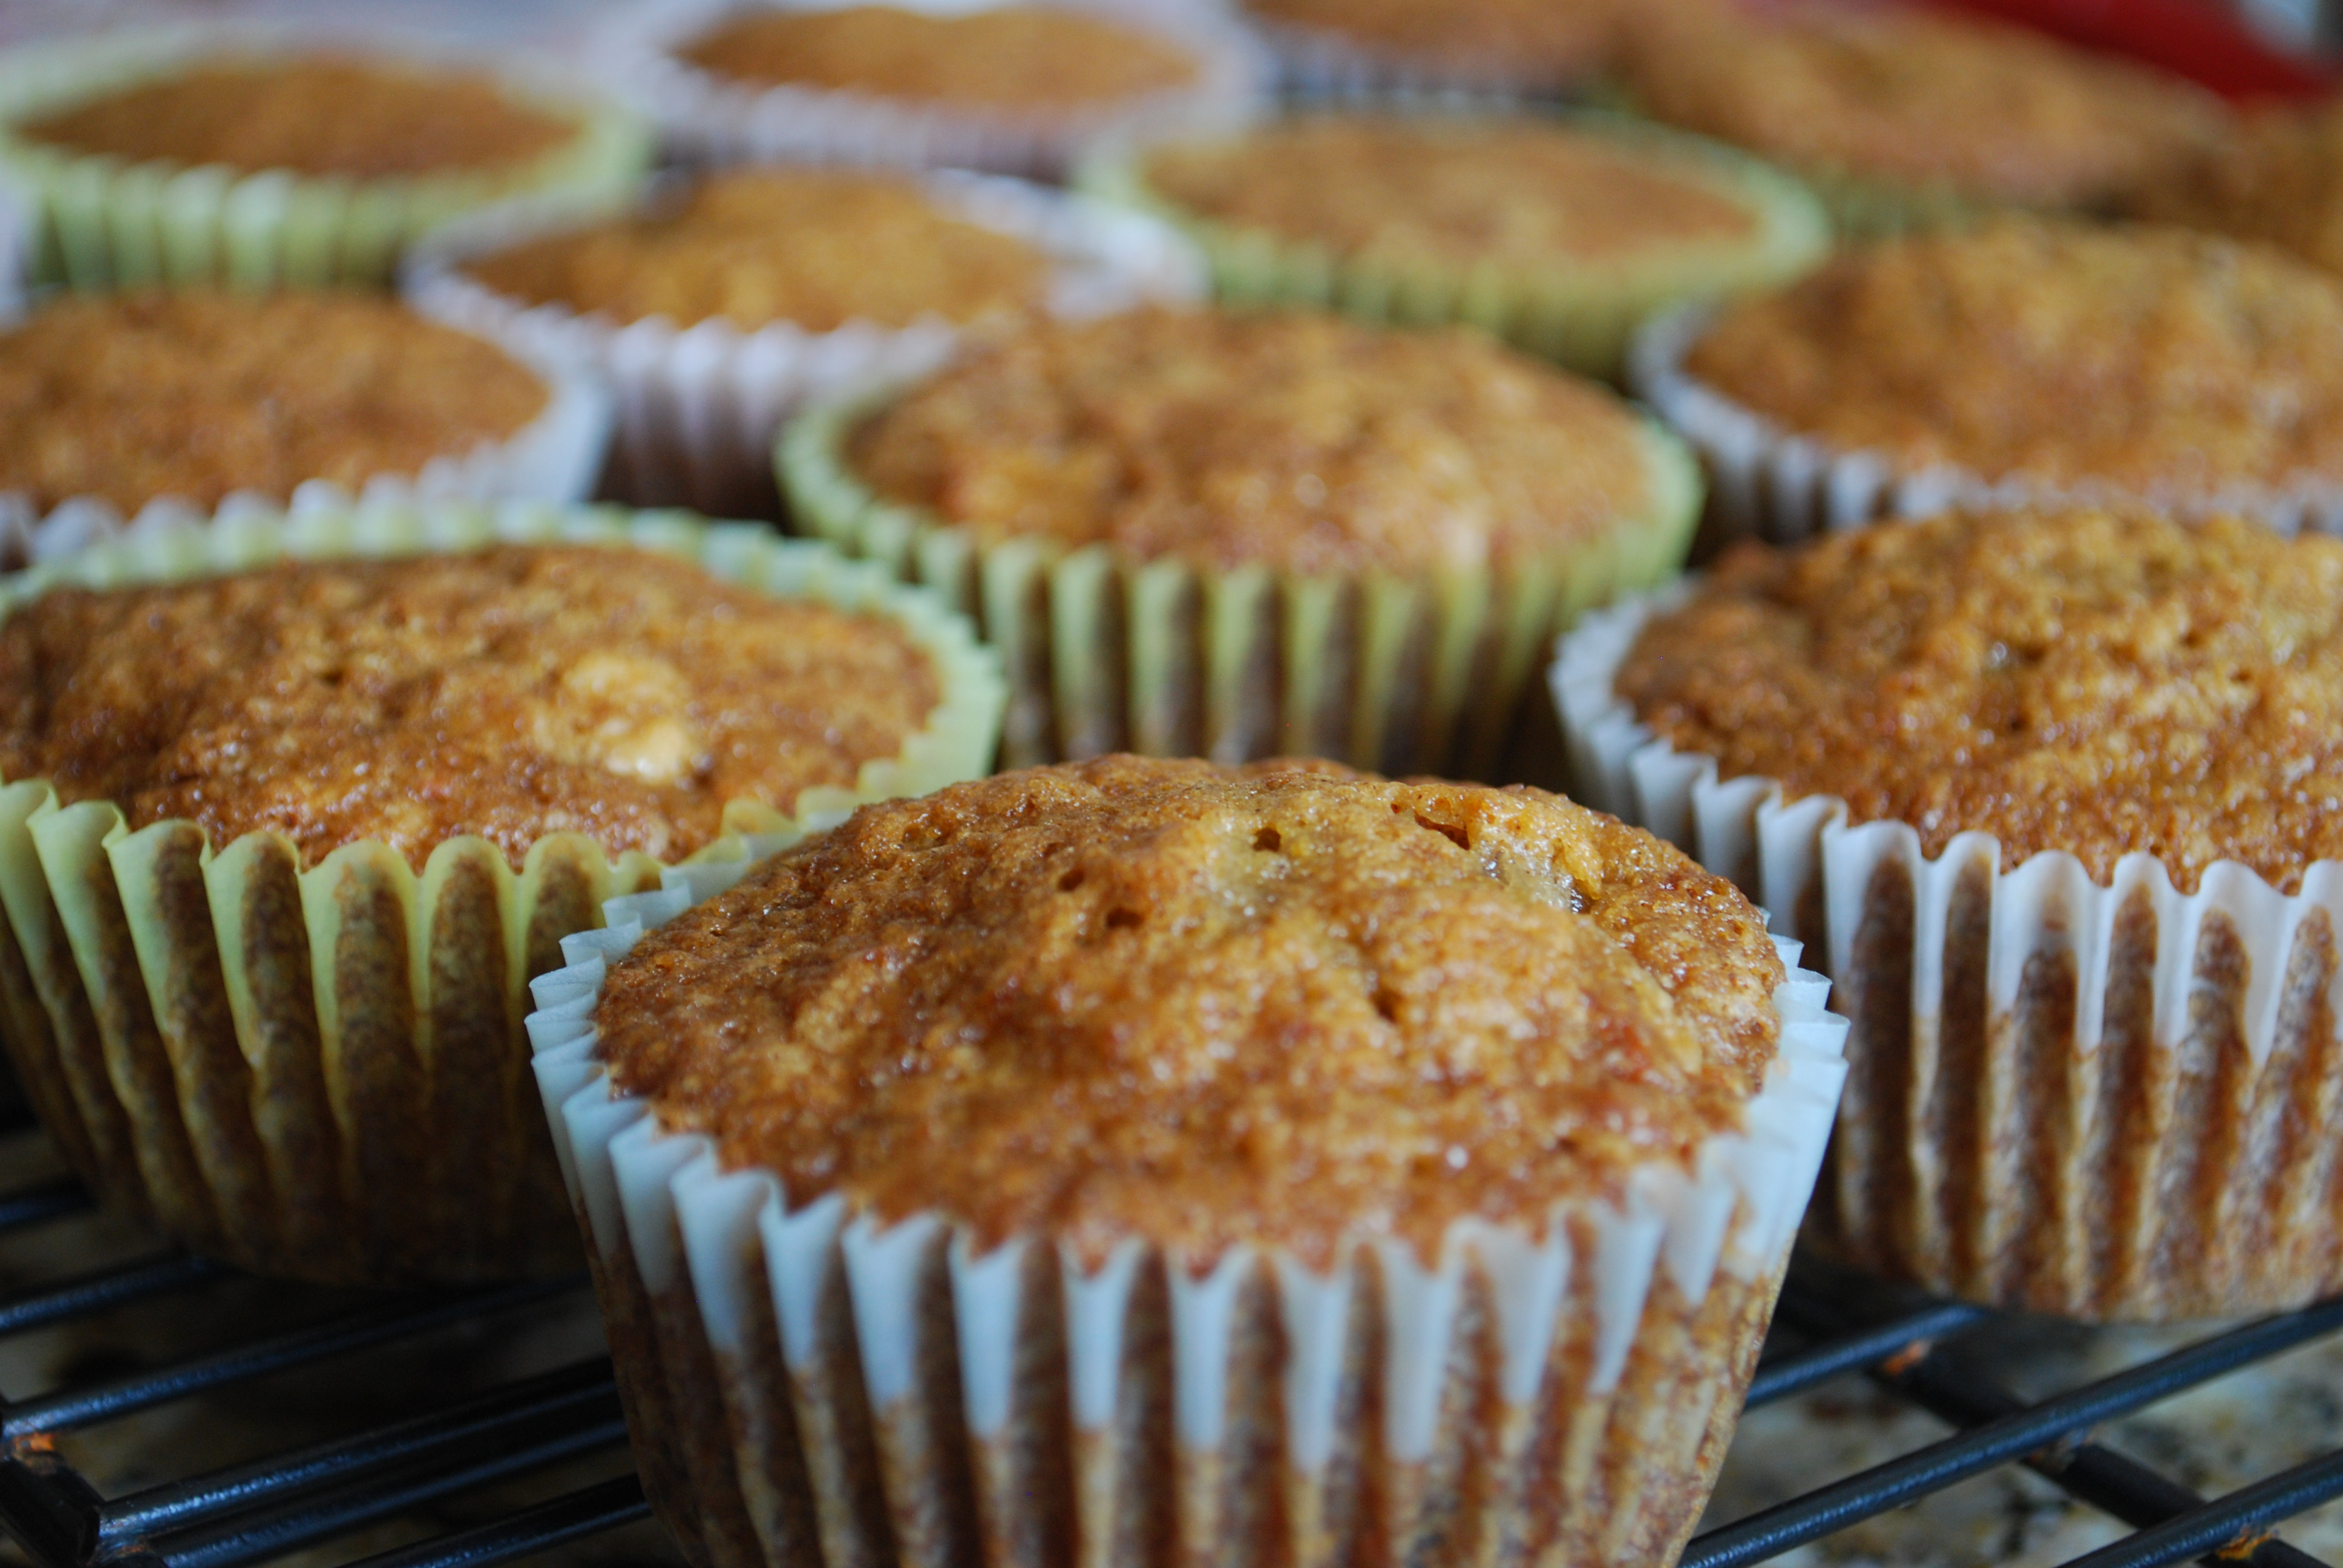
I opted to take the original cake recipe and make cupcakes for ease of transportation (happy birthday, mom!), but you can use this recipe for two nine-inch cakes as well.

DSC_0969

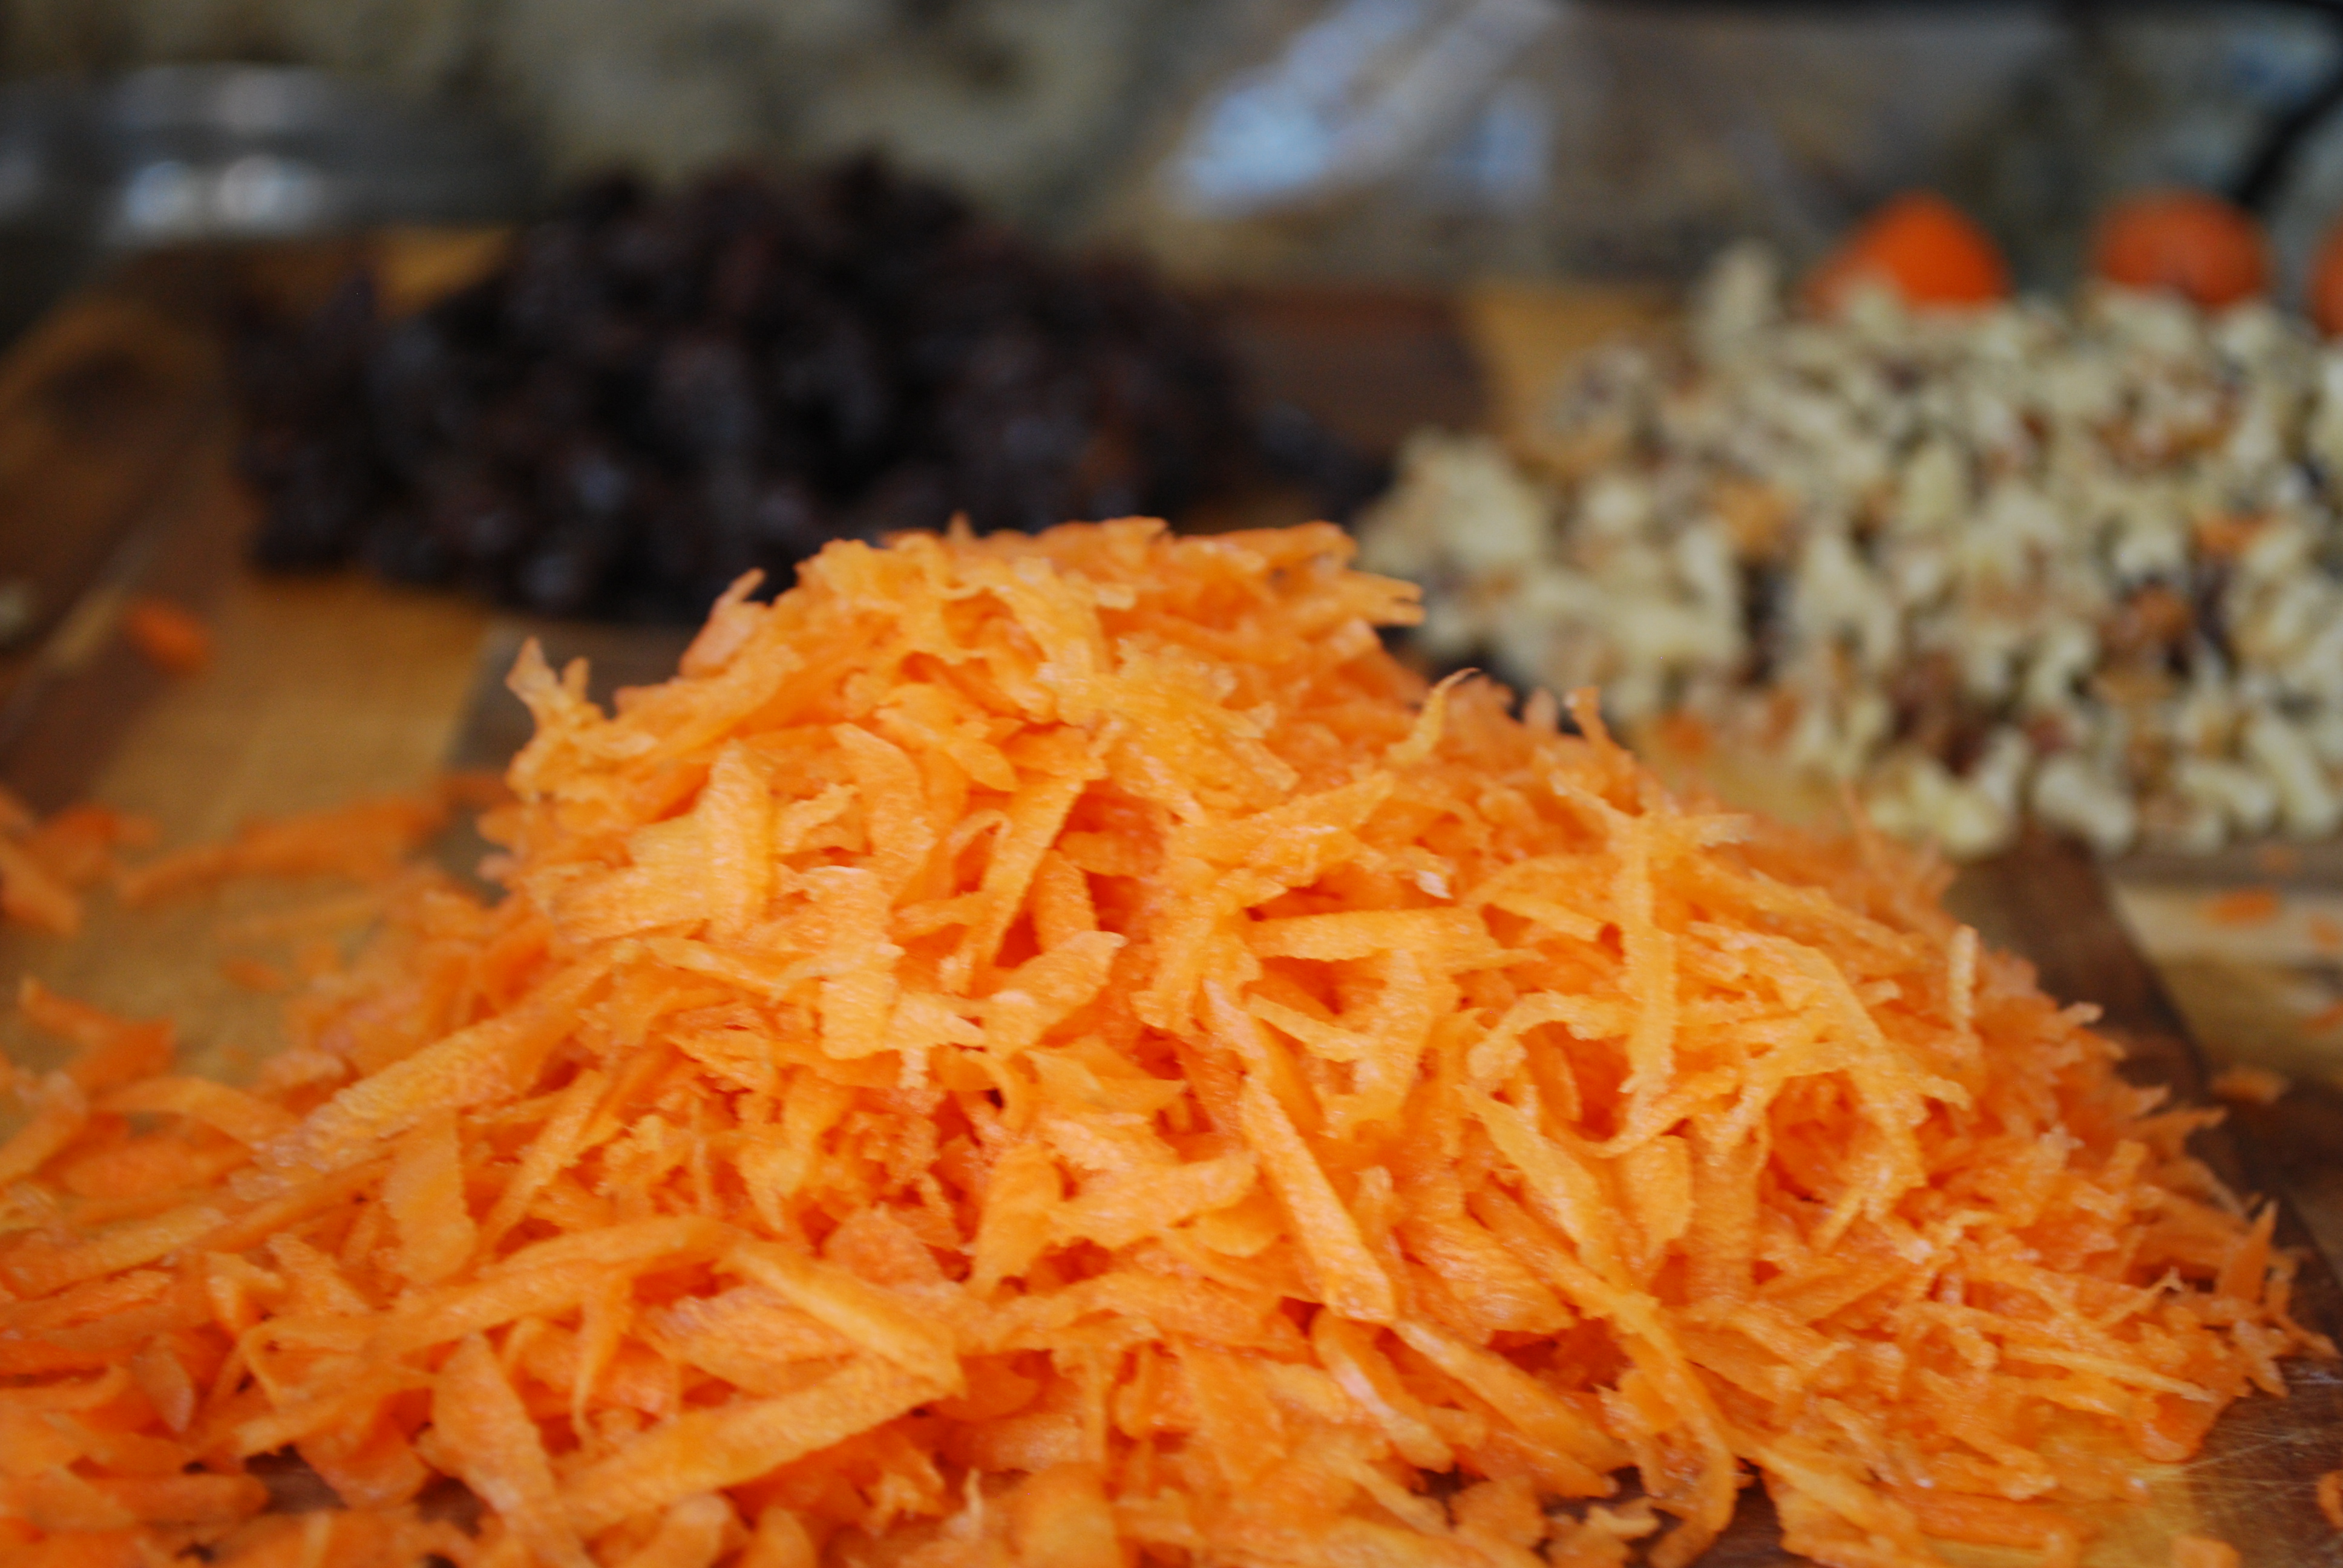
My only note is that next time I make these, I’ll be sure to employ Ina’s Food Network assistant that grates the pound of carrots.

DSC_0983

I got finger cramps (not to mention shredded carrot bits all over my floor).

Yet I digress.

DSC_0985

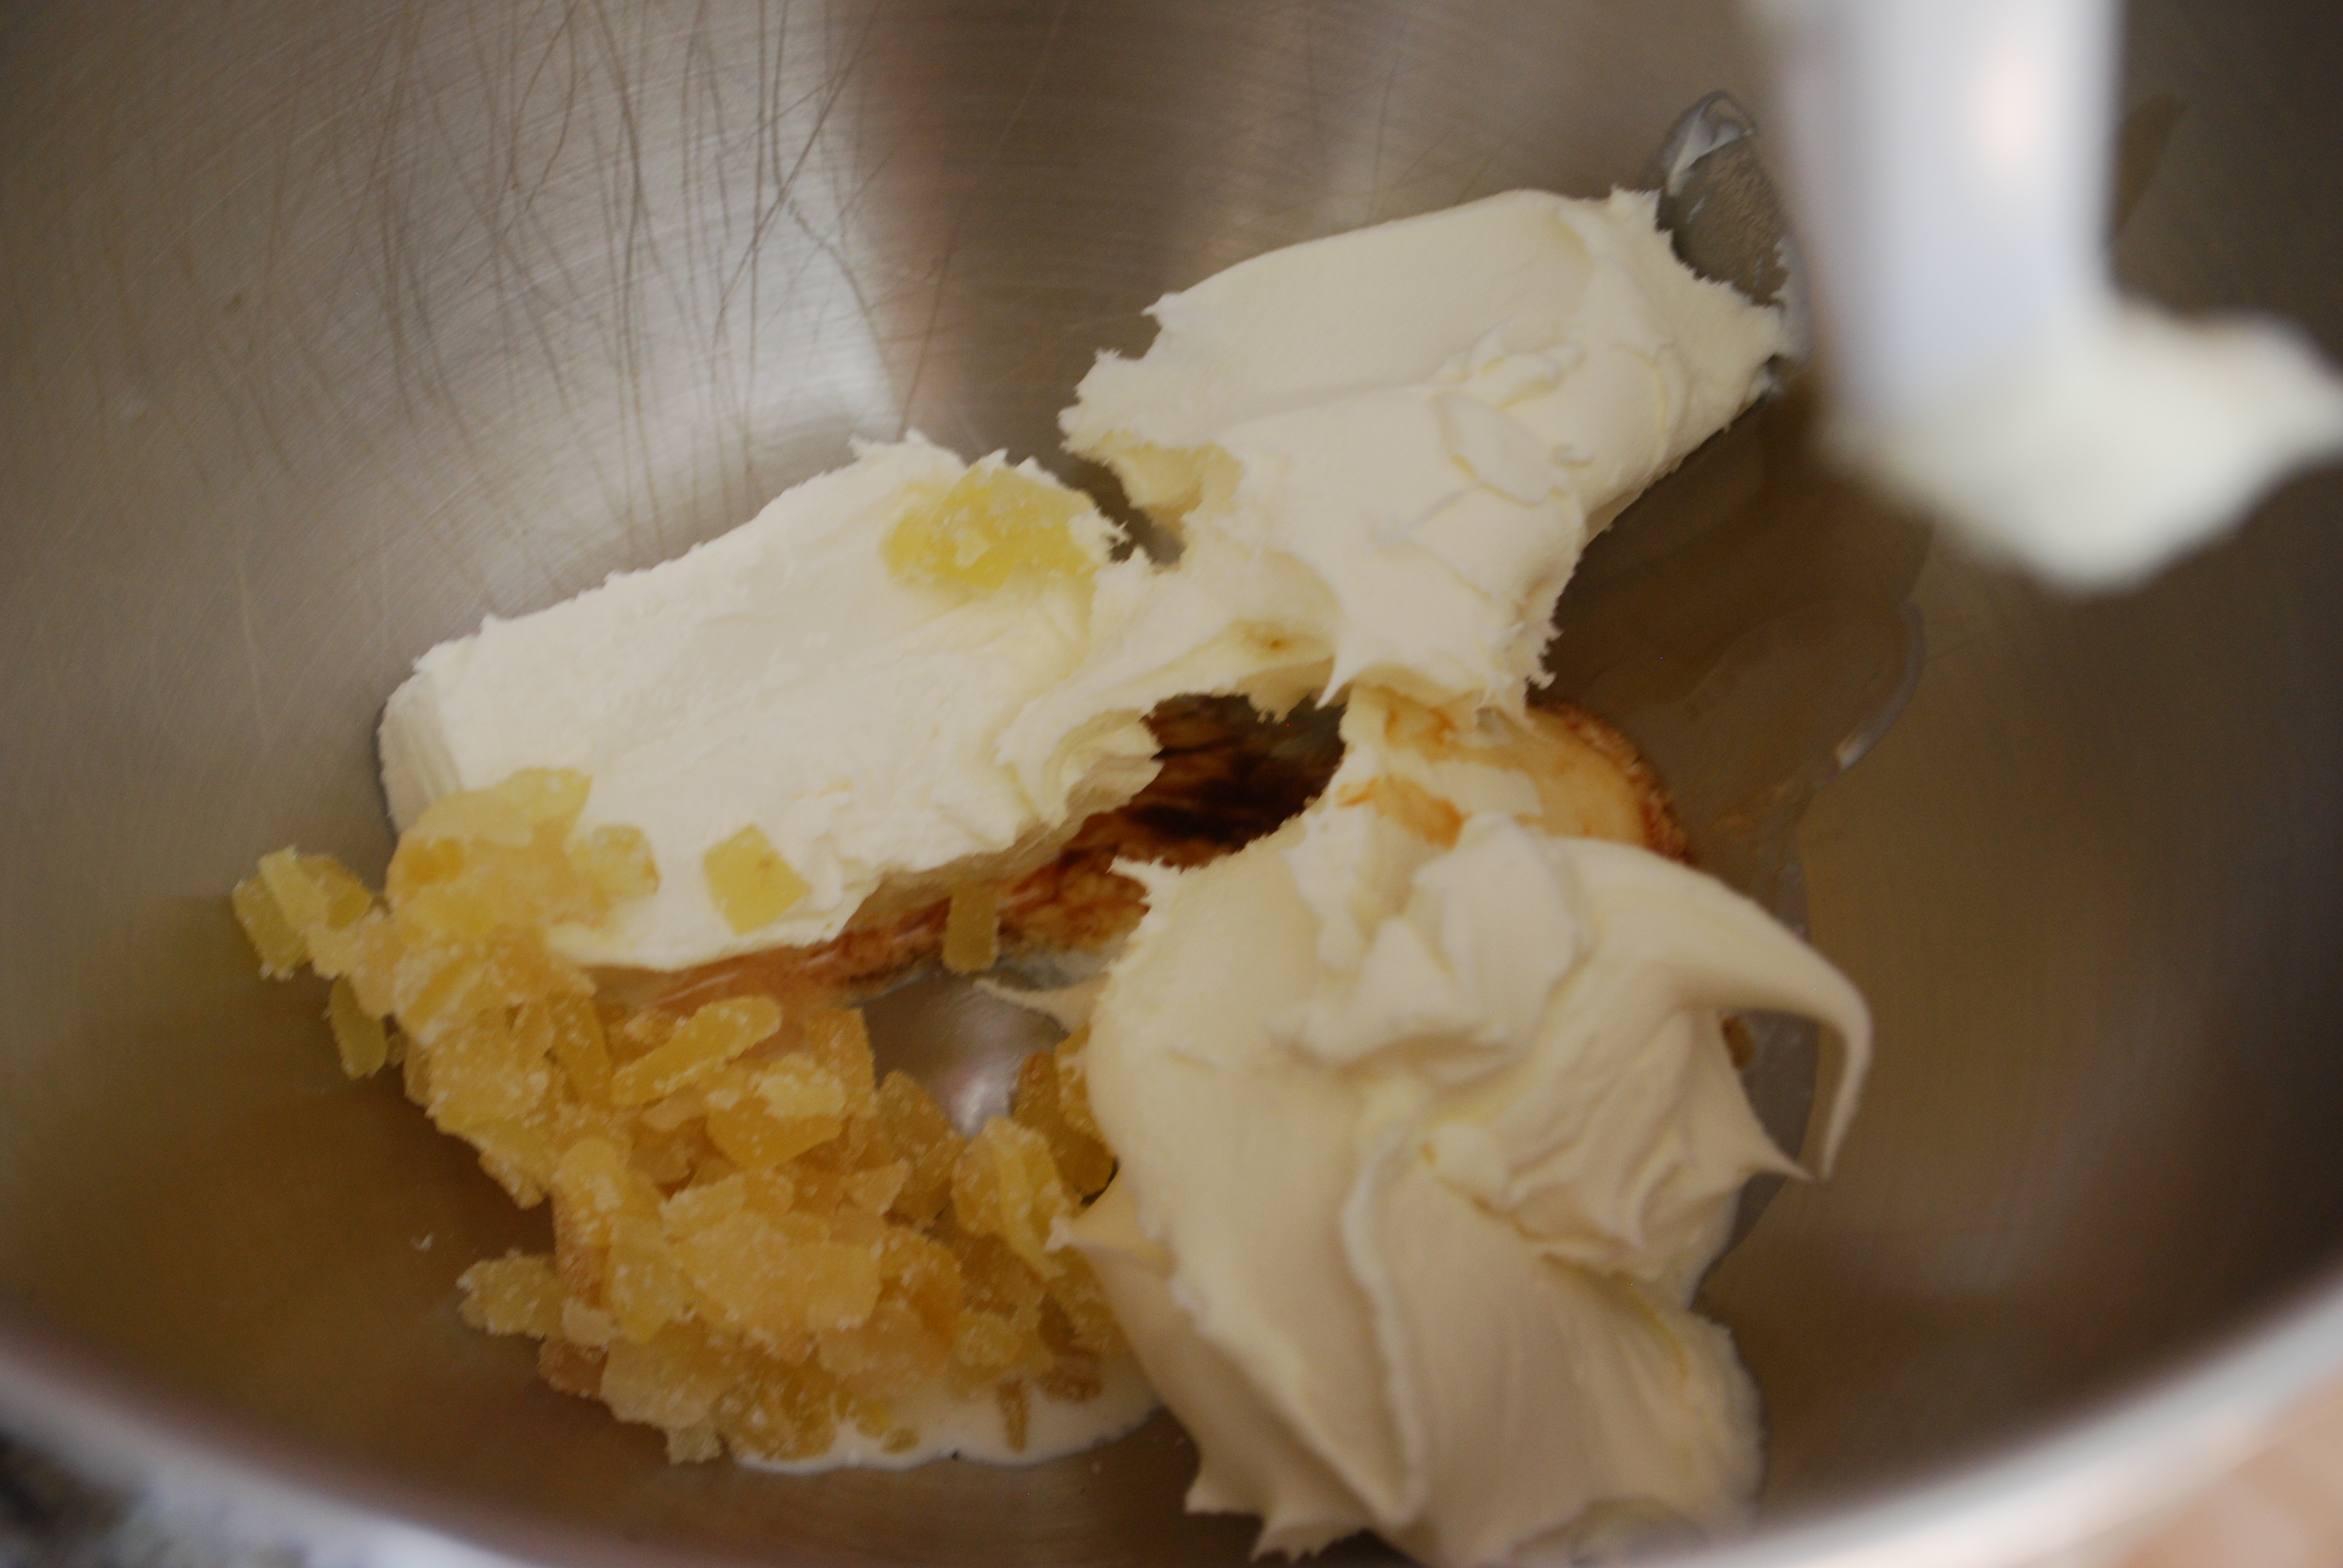
Ahh, the frosting. I found the candied ginger at my local Trader Joe’s (I love you, TJ) and really enjoyed the addition of the mascarpone cheese. It was the perfect complement to the carrot cake.

DSC_0997

And the carrot cake feels like the perfect complement to spring. Here’s to the warm months to come!

Carrot Cupcakes with Ginger Mascarpone Frosting from Barefoot Contessa Foolproof

Makes 32 cupcakes or two 9 inch cakes

Ingredients

2 cups sugar

1 1/3 cups vegetable oil

3 extra large eggs at room temperature

1 tsp vanilla extract

2 cups plus 1 tbsp flour

2 tsp cinnamon

2 tsp baking soda

1 1/2 tsp kosher salt

1 lb grated carrots

1 cup raisins

1 cup chopped walnuts

Frosting

12 oz mascarpone cheese at room temperature

4 oz cream cheese at room temperature

2 cups powdered sugar, sifted

2 tbsp heavy cream

1/2 tsp vanilla extract

1/3 cup chopped candied ginger

1/4 tsp kosher salt

Directions

Preheat oven to 400 degrees.

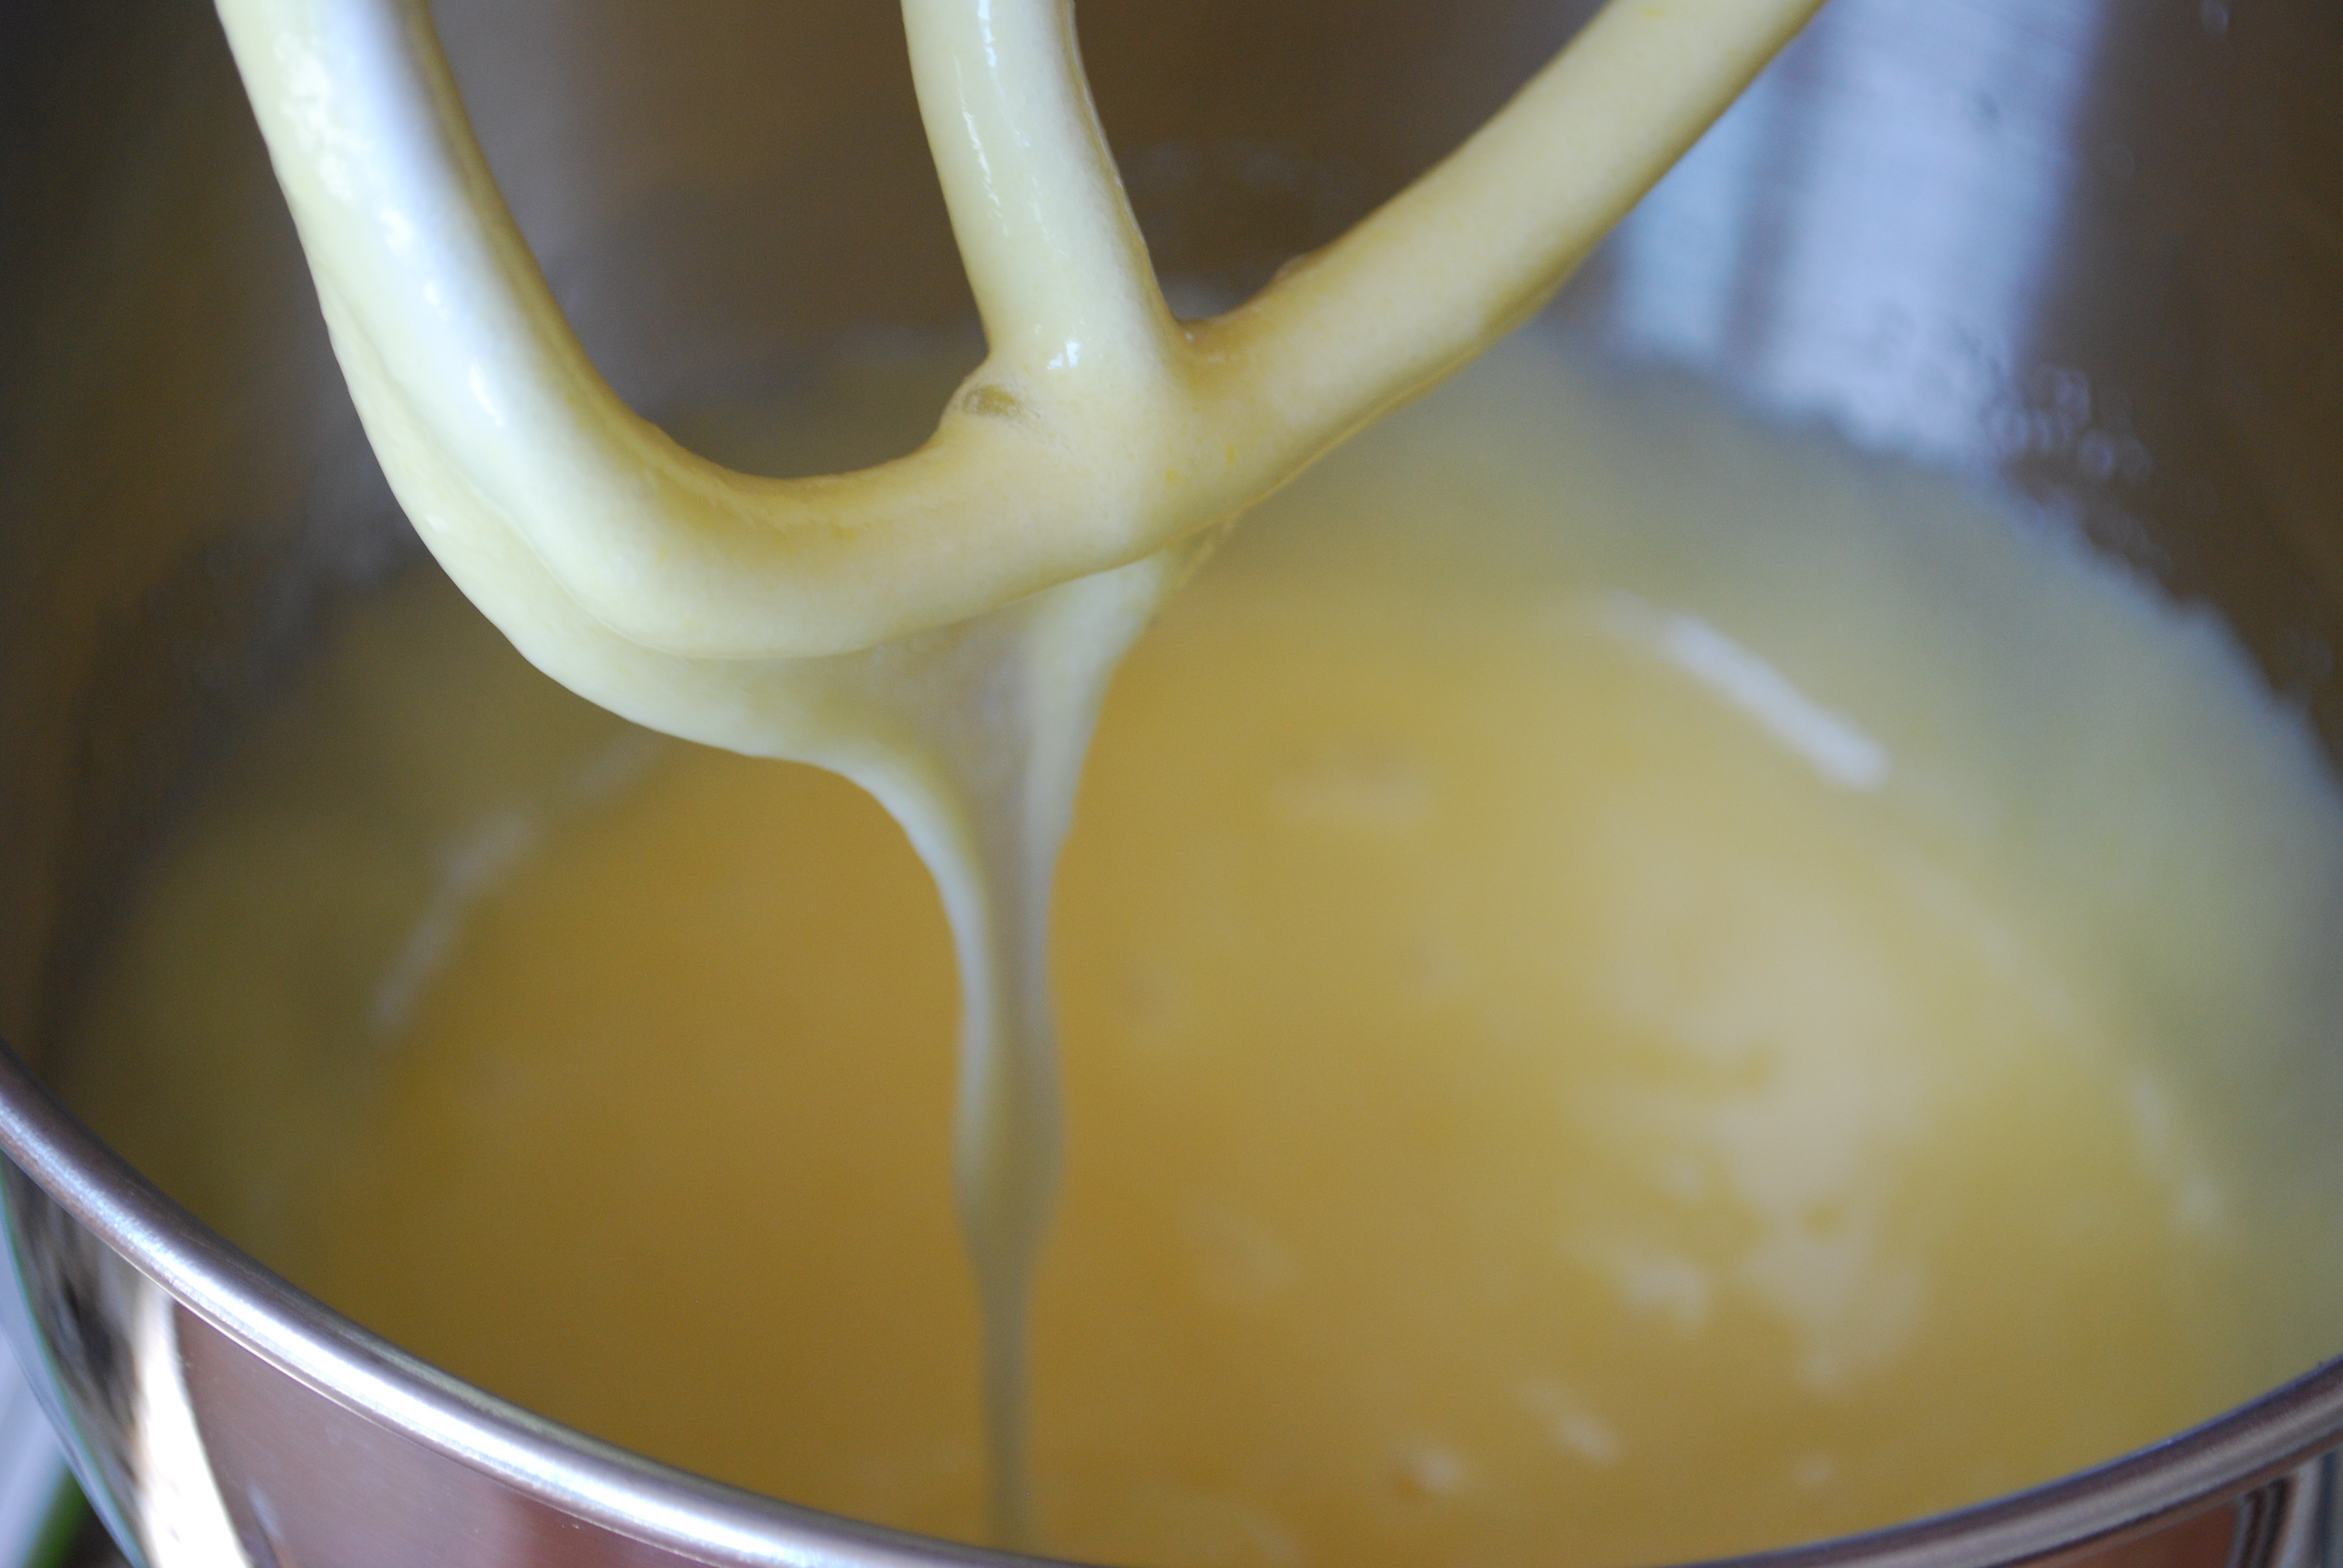
Grate carrots and set aside in a medium bowl. Add sugar, vegetable oil and eggs to the bowl of a stand mixer and beat for about 2 minutes on medium high, until mixture is pale yellow and thicker. In a separate bowl, whisk together flour, cinnamon, baking soda and kosher salt. Slowly add the mixture to the stand mixer until thoroughly combined.

Add raisins and walnuts to the grated carrots, and add the tablespoon of flour. Mix until the four are combined, then fold into the cake batter.

Spoon mixture into lined cupcake pans (about 3/4 full) and bake for 18 minutes until toothpick inserted comes out clean. Transfer to a baking rack to cool completely. Alternatively, bake for 10 minutes at 400 degrees, then lower the heat to 350 and bake for 30 to 35 minutes.

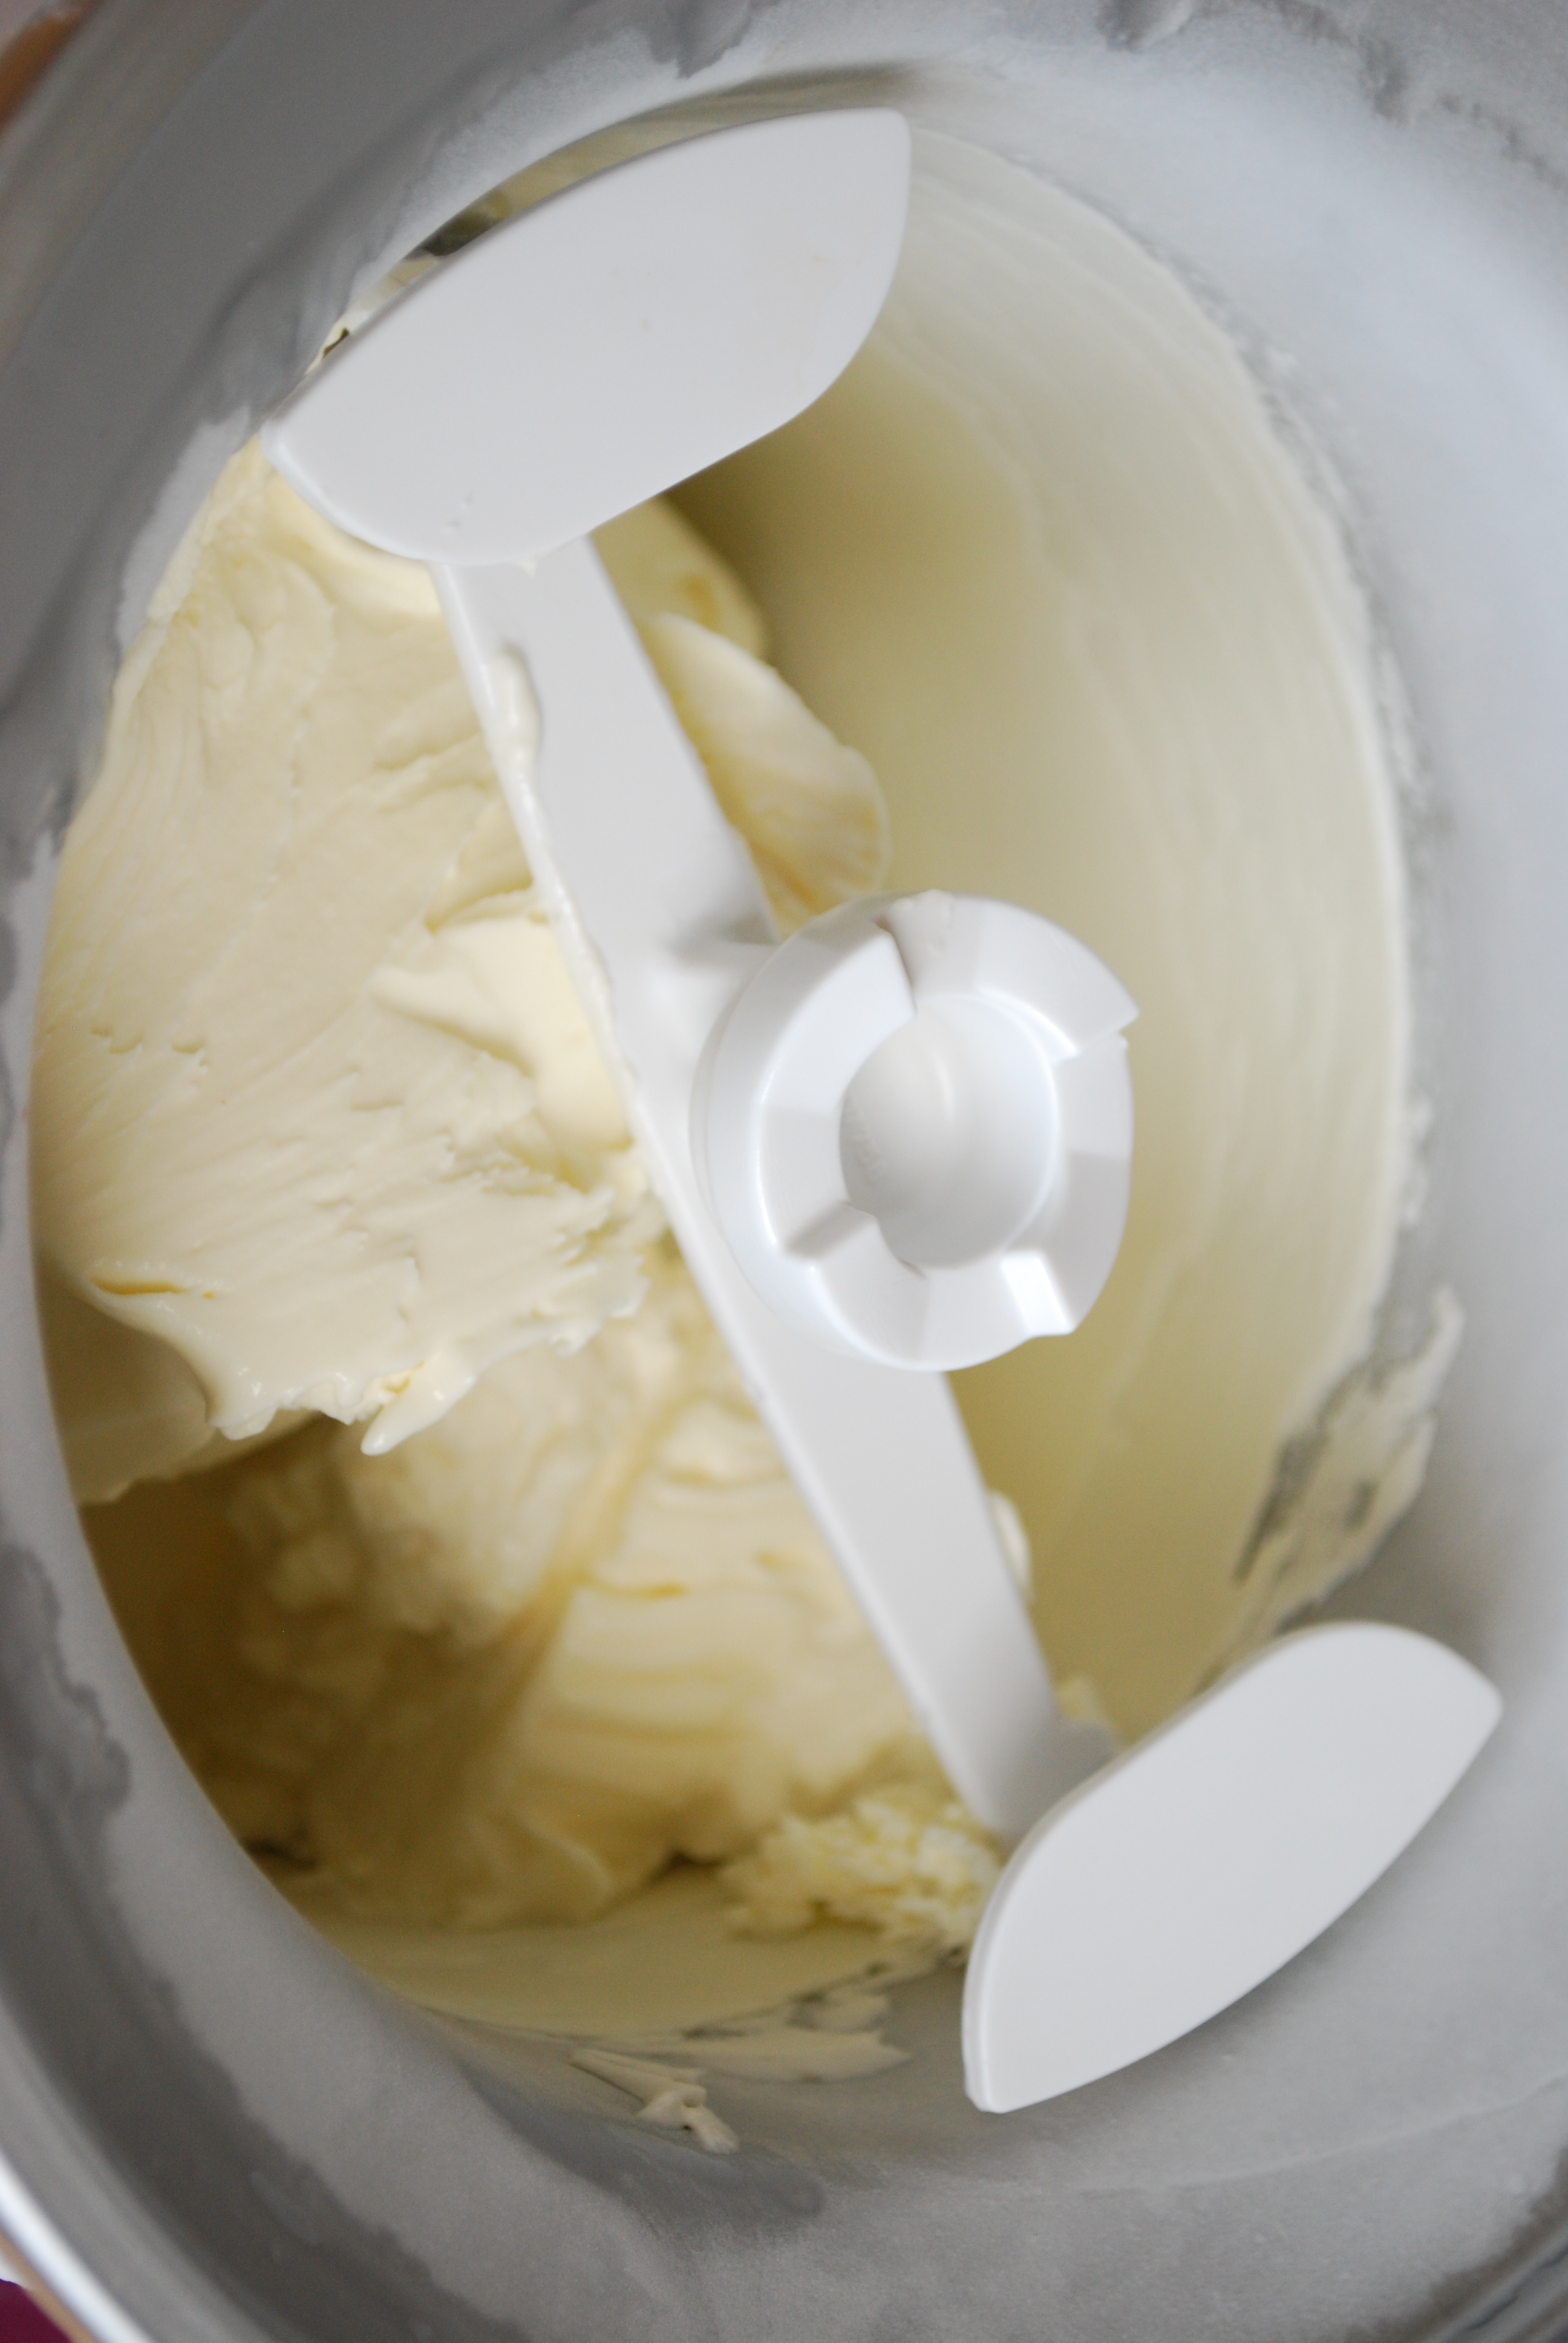
For the frosting, place mascarpone cheese, cream cheese, heavy cream, powdered sugar, vanilla extract, candied ginger and salt in the bowl of a stand mixer with paddle attachment. Beat on medium for about a minute until ingredients are combined and smooth.

Frost and enjoy!

Time

1.5 hours


Crispy Chocolate Chip Cookies

2 Feb

Happy Puppy Bowl Sunday! I want all the puppies. Seriously.

In the mean time, I’m finally getting around to posting these cookies.

DSC_0943

To be clear, I’m historically all about soft cookies. You know, like the ones in high school that are baked by the hundreds and barely cooked in the middle? Just the best.

But recently, I’ve found myself craving thin, crispy cookies with the same flavor and nostalgia of their heavier counterparts. I also found myself with a new subscription to InStyle, with three recipes for cookies in the back! (And for the record, February is all about new neutrals, people.)

DSC_0923

So I went all in for the crispy cookie. It felt a little more sophisticated, and tasted delicious.

You know when you’re eating chips in front of the TV and you have to turn it up to hear over the sound of your own chewing? It’s kind of like that…but I really wouldn’t know…because I don’t ever do that…

DSC_0930

It also holds up better in the milk-dunking phase. Trust me, I’ve done a lot of leg work on the cookie process.

DSC_0936

The one recipe note I’ll give you is that you have to flatten out the cookies before baking to achieve the crisp factor. The easiest way to do it is to use a spoon and wet the back of it before flattening each cookie. It’s tedious, but the alternative leaves you with a big mess (trust me here).

Enjoy!

Crispy Chocolate Chip Cookies (from InStyle)

Yields about 2 dozen cookies

Ingredients

1 cup all-purpose flour

1/4 tsp baking soda

1/2 tsp salt

1 stick unsalted butter

2/3 cup granulated sugar

1/3 cup brown sugar (I used light, but either will do)

1 egg

1 tsp vanilla extract

1 cup semisweet chips

Directions

Preheat oven to 375 degrees and line baking sheets with parchment paper. In a medium bowl, mix together flour, baking soda and salt and set aside.

Melt the stick of butter, and mix in a stand or electric mixer with both sugars until blended. Add egg and vanilla, and again mix until blended. Take your flour mixture and add in thirds, incorporating each time before adding more.

Once incorporated, fold in your chocolate chips using a spatula, then drop tablespoon sized scoops onto your baking sheet, 2 inches apart. Using a wetted spoon, flatten each cookie to about 1/4 inch.

Bake cookies for 15 minutes until golden. Remove from the oven and let cool for 5 minutes before transferring to wire racks to cool completely.

White Chocolate Pomegranate Bark

17 Nov

It’s been quite the weekend. It all started off so well, and with some standard Saturday chores went so wrong.

You see, our washing machine broke. There are jumbo fans drying the carpets, and the contents of our closet now reside in the living room. We went glamping in the den to escape the fans.

So when I told my husband I really wanted to make something for the blog this weekend, he looked around, then back at me with a mix of panic and concern. Enter this recipe.

DSC_0840

I’m actually not sure it qualifies as a recipe. It’s just melted chocolate with toppings. But we’re rolling with it. When life breaks your washing machine, get a strong drink and make white chocolate bark.

DSC_0843

You’re going to start by halving a pomegranate and extracting the seeds. This is probably the most difficult part. I put mine in a bowl of water and worked out the seeds with my fingers.

DSC_0849

This leaves you with a pile of pomegranate flesh and a bowl full of seeds.

DSC_0851

Once you melt the chocolate, spread it onto a baking sheet lined with parchment paper. I had less chocolate so used a smaller pan. Again, we’re rolling with it.

DSC_0861

After that, it’s just a matter of sprinkling your toppings. I threw some chocolate sprinkles and (gasp) a little sea salt on mine. It was just the right balance between the rich white chocolate and the tang of the salt and pomegranate.

DSC_0863

I highly recommend for your holiday celebrations, or the next time you need a quick pick me up.

DSC_0868

White Chocolate Pomegranate Bark

Yields one 8 x 13 baking sheet of bark

Ingredients

1 lb white chocolate

1 pomegranate, deseeded

1 tbsp chocolate sprinkles (optional)

sprinkle of sea salt (optional)

Directions

Cut pomegranate in half and deseed in a bowl of water. Discard skin and wash seeds throughly to remove other pieces of pomegranate skin.

Melt white chocolate in a sauce pan over medium-low heat. Stir the whole time to keep the chocolate from burning. As soon as the chocolate is melted, remove from heat and pour over parchment paper into a baking sheet. You can spread over the entire sheet, or make it smaller for thicker bark.

Next, sprinkle pomegranate seeds and other toppings to your liking. Refrigerate for at least an hour, or until chocolate is hard. Break into pieces and store in refrigerator. Enjoy!


Blueberry Cheesecake Ice Cream

3 Sep

Treat yourself.

DSC_0049

Treat. Yo. Self.


Extravagant? Yes. Unnecessary? Probably. Did I go there? Youuu betcha.

DSC_0016

I’ll let you in on a secret, though– it’s totally worth it. The ice cream recipe is adapted from Leslie Newman‘s Once-a-Year Cheesecake Ice Cream and Leslie, kudos for your restraint.

I’d say I’m more a Once-a-Quarter gal. Treat yourself often.

Life is short, and besides, you deserve it!

DSC_0021

The ice cream itself is rich and creamy (I mean, the three main ingredients are cream), but the blueberries add just the right amount of balance.

DSC_0023

Also, layer the ice cream as you choose! I probably used about 2/3 of the blueberry sauce, but mix and layer to your desire. That’s what treat yourself is about.

DSC_0031

Just don’t be sad when it’s all gone.

DSC_0035

Blueberry Cheesecake Ice Cream

Makes about 1 quart

Ingredients

8 oz cream cheese, cold but softened

3/4 cup sugar

1/2 cup sour cream

1 cup heavy cream

1/4 tsp kosher salt

2 tbsp fresh lemon juice

1/4 tsp vanilla extract

Blueberry Sauce

2 cups blueberries

1/4 cup water

1/4 cup sugar

1 tbsp lemon juice

1/4 tsp cream of tartar

a splash of vanilla extract

Graham Cracker Crumble

4 grahams

1 tbsp melted butter, unsalted

Directions

In the bowl of a stand mixer with paddle attachment, take slightly softened cream cheese and beat on medium speed for 2-3 minutes until light and fluffy. Add the sugar 1/4 cup at a time and beat until just incorporated. Add sour cream and heavy cream and beat at medium speed, again until just incorporated. Add kosher salt, lemon juice and vanilla extract and mix thoroughly.

Take the bowl, cover and refrigerate for 2 to 12 hours, or until the mixture is very cold. While it chills, cook up the blueberry sauce. Take 2 cups of washed blueberries and combine in a medium saucepan with water, sugar, lemon juice, cream of tartar and vanilla extract. Cook over medium-high heat for 6-8 minutes, stirring occasionally. Remove from heat and let cool before covering and refrigerating, again until very cold.

Take your graham crackers and pulse to fine crumbs in a food processor. Slowly add melted butter, continuing to pulse as you pour it in. If you don’t have a food processor, you can also use a zip lock bag and smash them to crumbs before adding butter.

Once everything is chilled, take your mixer bowl and refit with whisk attachment. Mix the ice cream base on medium speed for 1-2 minutes, until the mixture is loosened and creamy. Pour the base into your ice cream maker and freeze according to manufacturer’s instructions. Once done, alternate layering ice cream, blueberry sauce and graham crackers to taste (I used about 2/3 of my blueberry sauce, but do what you feel!). Refreeze for four hours to make it really firm, or enjoy immediately!

Time

1 hour active, 2+ hours inactive

Peach Galette

29 Aug

HI YOU GUYS! Remember me? The one who takes all the pictures of food? I’m still here!!

Please forgive my absence. I’ve been frolicking in the summer sun.

Ok, I’ve been locked away in an office. Happy? Dessert to the rescue.

DSC_0847

This is a peach galette.

Galette /gəˈlet/ noun- A rustic pastry filled with fruit and sugary goodness. Rustic /ˈrəstik/ adj- rough around the edges. Just my style.

DSC_0826

Husband: “That pie was good.”

Me: “That wasn’t a pie.”

Husband: “Right. The grouton?”

Me: “…”

DSC_0830

He’s right, though. The grouton…err, galette, was the perfect combo of sugary dough and sweet fruit. You’ll see in the pictures below that before I could take a picture in proper daylight, we’d eaten half. Consider this a strong endorsement.

DSC_0877

Once you’ve rolled out the dough, just slap your fruit mixture in the middle. Please note that I spent 5 minutes carefully arranging the outer layer of peaches before haphazardly dumping in the rest. Whatever, it’s rustic.

DSC_0881

DSC_0878

Before you bake, be sure to tuck in a little extra sugar and butter for good measure.

DSC_0901

Bake, cool, enjoy, and pray a little is left when daylight comes. Bon appetit!

Peach Galette adapted from Simply Recipes

Yields one 12″ pastry

Ingredients

1 1/4 cup flour

1 1/2 tsp sugar

1/4 tsp salt

1 stick unsalted butter, chilled

5-6 tbsp cold water

Filling

2 1/2 sliced peaches, just ripened

3 tbsp plus 1 tbsp granulated sugar

1 tbsp plus 1 tbsp dark brown sugar (light would work fine as well)

1 tbsp flour

1/2 tsp vanilla extract

1 tbsp unsalted butter

1 egg

1 tsp turbinado sugar

Directions

Mix together flour, sugar and salt in a food processor. Slice stick of butter into tablespoon-sized chunks and add to flour mixture. Pulse food processor 8-10 times, or until butter is mostly incorporated and pea-size or less. Add cold water one tablespoon at a time and pulse after each addition. After 5 to 6 tablespoons, you should feel the blade start to struggle against the forming dough.

At this point, stop mixing and turn the mixture (crumbs and all) out onto a hard, floured surface and knead just until soft dough forms. Mold into a disc and wrap in plastic. The dough should chill for at least an hour (up to 12) before being rolled out.

When the dough has chilled, roll it until it’s about a foot in diameter. The dough will be pretty thin, but that’s what you want. Roll the dough onto your rolling pin and gently transfer to a nonstick, ungreased baking sheet.

Peel and slice peaches and place in a medium bowl. Add sugars, flour and vanilla and toss to coat. Arrange peaches in the middle of the dough, leaving a 2″ border all around. Take your extra tablespoon of sugar, granulated sugar and unsalted butter and roughly mix. Dot mixture throughout the top of the peaches.

Complete the galette by folding each section of the dough border over the peaches. When this is done, lightly beat egg and use to wash over the dough. If you want, sprinkle turbinado (or any ol’) sugar on the dough to give a sugary glaze. Bake at 425 for 20-25 minutes, or until your galette is well browned and bubbly. Enjoy!

Time

20 minutes active, 1.5 hours inactive

Strawberry Pimm’s Popsicles

1 Aug

You guys! The Royal Peanut has been born!

Wait…that was a week ago?

Well, you should still be celebrating. It’s always Pimm’s o’clock in this kitchen.

DSC_0807

It’s also still summer outside, which calls for popsicles.

For those of you unfamiliar with Pimm’s, it’s a magical British liqueur best paired with ice, ginger ale, strawberries, cucumber and mint. It’s called the Pimm’s Cup. It is everything you will ever need.

photo

While this popsicle is a deviation from the traditional Pimm’s Cup, it has the same sweet flavor with just a little bite…just like the British.

DSC_0797

It’s also packed with strawberries, making it perfectly refreshing for the not-so-British summer heat. Meaning, I’ve already had two today.

Also, a big shout out to my non-British husband for being my popsicle model. Job well done.

So raise your pops to Prince George, and long live the Queen! Cheers!

DSC_0800

Strawberry Pimm’s Popsicles

Makes about 6 popsicles

Ingredients

40 strawberries hulled, or about 2.5 lbs

1″ sliced cucumber

1/4 cup sugar

1 cup Pimm’s liqueur

4-5 mint leaves (optional)

Directions

Hull strawberries and place in a large bowl. Sprinkle 1/4 cup sugar evenly and let sit for 10 minutes. This will let the natural sugars in the strawberries come out. While waiting, pour out one cup of Pimm’s and immerse mint leaves to soak.

After 10 minutes, place strawberries and cucumber in food processor or blender. Chop/pulse them for no more than 4-5 seconds. You want the strawberries and cucumbers to be well blended, but to still have small fruit chunks.

Next, place your blended strawberry mixture in a mesh strainer and let the liquid from the strawberries drain (trust me, more room for Pimm’s!). Gently press on the fruit to drain remaining liquid, then return to large bowl. Remove mint leaves and add Pimm’s, then stir to combine fully.

Spoon fruit mixture into popsicle molds and freeze for at least 4 hours, or until firm.

Time

20 mins active, 4 hours inactive

Chocolate Macaroons

8 Jul

Weaknesses:

1. Barbecue potato chips. Ok…potato chips of any kind, but especially BBQ.

2. Surprise sample sales at Kate Spade. So many poor decisions made and wallets won.

3. Clueless on cable. I’m convinced that this movie is on tv at any given moment, and whenever I find it, I feel obligated to make sure Alicia Silverstone and Paul Rudd end up together. Teeeenderness, where is the teeeenderness. Sorry…

4. Tiny desserts. Enter macaroons.

Ever since afternoon tea at the Empress, I’ve been dreaming about the dessert tray. So many teeny desserts, including pistachio macaroons, lemon meringue tarts and little chocolate bowls of coffee cream goodness still haunt me. I’ve since been missing those lady-sized food bites, and decided my only option was to make more.

DSC_0742

I made mine a little more festive with sprinkles and chocolate buttercream. Consider these your go-to mini-sized party macaroons. They’re technically mac-uh-rons (almond flour, not coconut), but since I’m uh-mair-ican, I call them all mac-uh-roons. You’re welcome francophiles.

DSC_0743

And without further uh-do, the recipe!

Chocolate Macaroons from Macaroons

Yields about 32 1.5″ diameter macaroon halfs (16 sandwiches)

Ingredients

3/4 cup ground almonds

1 cup powdered sugar

2 tbsp unsweetened cocoa powder

2 extra large egg whites

1/4 granulated sugar

Filling

Chocolate buttercream frosting from Birthday Cake

Directions 

Take two extra large eggs and separate the whites. Let the whites sit at room temperature for at least 30 minutes. Preheat oven to 325 degrees.

Combine ground almonds, powdered sugar and cocoa powder in the bowl of a food processor. Grind for 10-20 seconds to make sure ingredients are thoroughly mixed and processed. Sift mixture into a clean bowl.

Take your room temperature egg whites and put them in the bowl of a stand or hand mixer. Mix at high speed until frothy egg whites form and hold little peaks. Take your sugar and continue to mix, slowly adding the sugar to form a glossy meringue.

Next, take your meringue and slowly fold in dry ingredients, 1/3 at a time. Fold them into the egg whites using a spatula and once all are incorporated, keep folding until it forms a shiny batter. Put the batter in a pastry bag (or a plain ol sandwich bag will do) and pipe small circles onto a baking sheet lined with parchment paper.

Let the baking sheets sit at room temperature for 30 minutes  (if you want to add sprinkles, do so at this point) until the tops of your macaroons are hard to the touch. Then bake for 10-15 minutes, and cool for 5 minutes before peeling them from the parchment paper. Let them cool completely before filling with buttercream or other desired filling. Sandwich and devour!

Ice Cream Sammies

5 Jun

Don’t worry…I didn’t roll anything in bacon this time.

But it did cross my mind.

DSC_2107

Enough about bacon. In earnest, there are tell tale signs that summer is fast approaching.

1.  Humidity- we covered this one. I won’t keep complaining.

2. Tourists- so many in DC, and all on the Metro.

3. Television- All the best shows are ending. This may actually be a good thing (I loath thee Game of Thrones!)

4. Vacation- Is two short weeks away! Not that anyone is counting.

DSC_1962

So for your ode to summer enjoyment, have an ice cream sandwich.

They’re jam packed with summer nostalgia (also known as vanilla ice cream).

DSC_2008

Summer is just better with ice cream sandwiches. To keep you on your toes, I made mine with oatmeal cookies, and they were mighty fine.

Since I was so diligent in my cookie making, I cheated and used store-bought ice cream.

Decreased production time= increased sandwich consumption time.

Besides, it’s summer, take a break.

DSC_2084

For maximum enjoyment, assemble, wrap, freeze, and enjoy on a hot summer day.

DSC_2110


Oatmeal Cookie Ice Cream Sandwiches, adapted from Quaker

Makes about 10 sandwiches

Ingredients

2 sticks unsalted butter, at room temperature

3/4 cup firmly packed brown sugar

1/2 cup granulated sugar

2 eggs

1 tsp vanilla

1 1/2 cups flour

1 tsp baking soda

1 tsp cinnamon

1/4 tsp salt

2 3/4 cup oats (I used old fashioned)

1/4 cup walnuts

1/4 cup mini chocolate chips

1 pint vanilla ice cream

additional sprinkles, chocolate chips and walnuts for garnish

Directions

Preheat oven to 350 degrees.

In stand mixer, combine butter and sugars on medium speed until fluffy (about 3 minutes). Add in eggs and vanilla and slowly mix until just incorporated.

In medium bowl, mix together flour, baking soda, cinnamon and salt. Slowly add in thirds to your mixer and beat until combined. Add in oats one cup at a time, along with walnuts and chocolate chips. When fully combined, drop rounded tablespoons of dough onto an ungreased cookie sheet, 2-3 inches apart.

Cook at 350 degrees for about 9 minutes. Remove cookies and cool to room temperature.

Next, grab your ice cream and spoon between cookies. Smooth ice cream around the edges and roll in your favorite toppings. Wrap sandwiches individually in plastic wrap and refreeze.

Time

1 hour

Lavender Creme Brulee

27 May

Thoughts for possible Eat Cake for Breakfast mini-series:

1. Arrested Development episodes (there’s-always-money-in-the-banana-stand, the cornballer, Ike and Tina tuna, etc.)

2. Things my husband casually suggests I make that…ahem…definitely aren’t his favorite (just mere suggestions)

3. Things I eat in Charlottesville that have no relevance to recipes. Just a list of everything I eat while in town (a lengthy mini-series)

All would be equally rich and compelling, but this time I choose #3 (and I’ll even give you a recipe!)

DSC_2133

Charlottesville is a magical place, and there are so many places I could tell you to go, but in light of the upcoming mini-series (only half kidding), go to Michael’s Bistro. Start with a snake bite and order the Thai chicken curry for dinner.

DSC_1980

Naturally, this was my order last time I was in town. While I usually politely turn down dessert in favor of cookies on the privacy of my couch, the lavender creme brulee beckoned…and beckoned hard.

DSC_2004

While my good friend Joanna and I mulled over the lavender-infused custard and caramelized shell, we joked about the blog-worthiness of the dessert. It went something like this:

Joanna: “You should make this for your blog!”

Me: “Ha, totally!”

Joanna: “No really, you should make this for your blog…”

DSC_1995

So I did! I’m also the new, proud owner of a butane torch. For all future creme bruleeing, merengue browning and tomato fire-roasting, I’m your girl.

This one’s for you, Joanna!

DSC_2123

The most gratifying part is definitely watching the sugar caramelize:

DSC_2126

DSC_2127

Well, second most gratifying. Breaking that caramelized crust is worth every butane-filled moment. Swoon.

DSC_2135

Lavender Creme Brulee (adapted from Oprah)

Yields about 4 ramekins

Ingredients

1 cup whole milk

1 cup heavy cream

3 tbsp dried lavender

6 egg yolks

1/4 cup granulated sugar plus extra for caramelizing

Directions

Preheat oven to 300 degrees and start heating tea kettle on medium-high heat.

In a small saucepan, combine whole milk and heavy cream over high heat and simmer until you barely see bubbles forming to boil, then remove. Add lavender and let sit for 1 hour to soak up the lavender flavor.

After an hour, combine egg yolks and granulated sugar. Whisk together and continue to whisk until the yolks take on a pale yellow color. Strain cream mixture into a clean saucepan to remove lavender buds (squeeze them to really get out all the cream) and heat the mixture again until barely boiling. Slowly pour the cream mixture into the egg yolks, whisking constantly to temper the eggs. Once combined, skim off any foam (if desired) and divide mixture between ramekins.

Place ramekins in an oven-safe dish and fill with heated water from tea kettle until water level reaches half the height of the cream mixture in your ramekins. The water shouldn’t be boiling, but should be hot. Place the dish into an oven preheated to 300 degrees Fahrenheit and bake for 30-35 minutes, or until ramekins are just set. When the creme brulee is fully cooked, you should be able to gently shake the ramekin and see that the edges do not move, but the middle just barely wiggles.  Careful not to overcook!

Once set, remove ramekins from water and let them sit at room temperature for a few minutes before refrigerating to really let the custard set, at least two hours and up to 2 days. Before serving/enjoying, coat top layer with granulated sugar and fire up your torch. Holding the flame parallel and rotating the torch, slowly melt the sugar. If you don’t have a kitchen torch, turn your oven broiler on high and place ramekins underneath, watching closely until sugar melts. Let the brulee stand for a few minutes (torching/broiling are HOT) and enjoy!

Time

30 minutes active, additional 3.5 hours inactive

Angel Food Cake with Berry Sauce

2 Apr

How to make angel food cake in several easy, succinct steps.

1. Carefully separate egg whites. Carefully.

DSC_1358

2. Invest in an angel food cake pan. Yes, there are such things. Yes, the bottoms do release, making for easy cake removal. No, they don’t look like this…

DSC_1424

3. Triple sift your flour mixture for extra fluff and lightness (not jokes…I did this one right!)

DSC_1366

4. Show your egg whites some love. The finest meringue takes patience, cream of tartar, and a little song and dance. Perhaps I should say it turned out in spite of the last part. No shame.

DSC_1398 DSC_1403

4. Invert your cake after oven removal. It keeps it from settling on itself while it cools, and makes great use of your empty wine bottles. Not that you have any, because you don’t drink that much…and you regularly take out your recycling…

DSC_1446

5. Make a berry sauce for accompaniment. The angel cake is light, airy and delicate. It begs for a little sin.

DSC_1489 DSC_1505

6. Enjoy with loved ones. And when you’re alone, enjoy a couple extra pieces. You deserve it.

DSC_1596

The classic angel food cake recipe comes from Craig Claiborne in the New York Times Dessert Cookbook and the berry sauce is adapted from The South.

Angel Food Cake with Berry Sauce

Yields about 10 servings

Ingredients

1 1/3 cups fine sugar

1 cup cake flour

1/4 tsp salt

12 large egg whites, room temp

1 1/4 tsp cream of tartar

1 tsp vanilla extract

1/2 tsp almond extract

Sauce

1/3 cup plus 2 tbsp sugar

1 tbsp cornstarch

1/3 cup water

1 cup sliced strawberries

1/2 cup raspberries

1/2 cup blueberries

1 tbsp Chambord (optional)

Directions

Preheat oven to 350 degrees.

Sift 1/3 cup sugar, cake flour and salt in medium bowl. Repeat x2.

Pour egg whites into stand mixer and beat on medium until foam appears. Slowly add cream of tartar and continue beating until they turn white and hold soft peaks. With the mixer running, slowly add in remaining 1 cup sugar one tablespoon at a time until your egg whites hold stiff peaks. Carefully fold in vanilla and almond extracts.

Sift 1/4 of your flour mixture into the egg whites and carefully fold in until fully incorporated. Repeat until everything has been mixed together, then pour batter into an ungreased (important so your batter can “climb” the pan) 9″ tube pan. Trace a square shape into the bottom of your pan, about 2″ deep.

Bake at 350 degrees for 45 minutes, or until the cake has browned and springs back when touched. Once you’ve removed it from the oven, immediately invert over a bottle and allow to cool completely (1 t0 1 1/2 hours). Run a knife or metal spatula around the pan sides to release.

For the sauce, mix sugar, cornstarch and water over medium heat until incorporated. Add berries and stir to coat. Bring sauce to a boil, then reduce to low heat and cook for an additional 5 minutes, or until the sauce thickens and is glossy. Add a splash of Chambord for an extra kick!

Time

1.5 hours